Exploring, through the lens, intricate and miniature life forms
By Odette Curtis-Scott
As the proponents of an easily overlooked shrubland, still underrated by landowners and ecologists alike, we rely heavily on taking striking images from within renosterveld to ‘sell’ our story. Photographs can indeed tell a thousand words – and getting them wrong, or wasting opportunities, is incredibly frustrating.
I have had the privilege of learning from some wonderful naturalist photographers, including our lovely bioblitz partners, Cliff & Suretha Dorse, as well as a few kind friends from the Spider Club of Southern Africa.
Here are some of the tips I have learnt, pertaining specifically to macro photography. But please note the following disclaimer: I, too, am on a very steep learning curve and have MUCH to learn still. These are just some tips which can assist with getting crisper, clearer images of the incredible smaller life forms that surround us. If you want to learn more about the technical aspects of photography, there are many courses and YouTube videos available.
GEAR:
Obviously the type of camera gear you are using will influence, at least to some degree, the parameters within which you can work to get the shots that you want. But at the same time, and because budget is an issue for most of us, do not feel that you must own the best and most expensive cameras to get the best results.
I have friends and colleagues who take far superior photos to mine, who have what is supposedly ‘inferior’ equipment. If you really know your camera and the technical aspects of photography, you can take incredible shots!
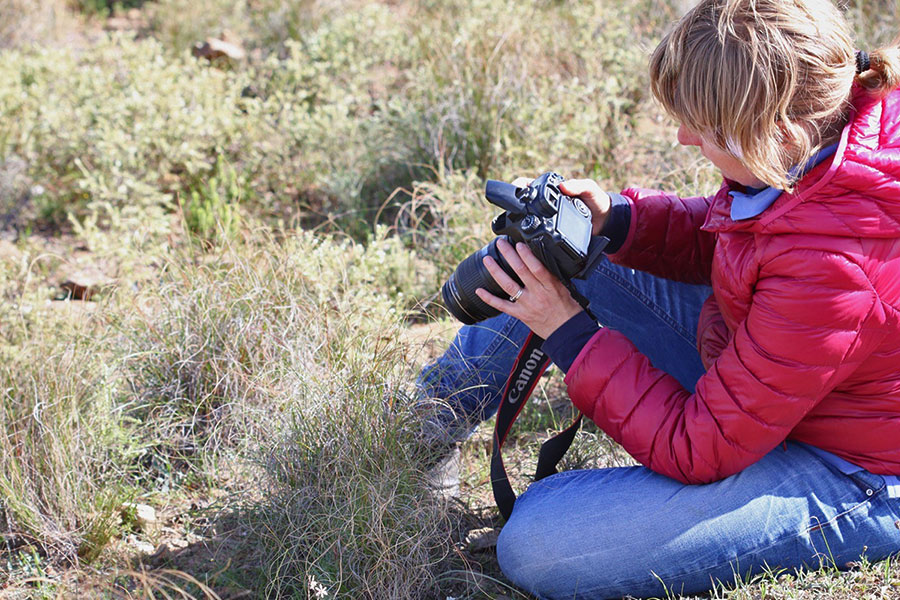
It’s most useful to shoot with an SLR, as this enables you to shoot on manual – giving you full control. But this requires some understanding of the various settings that you will need to adjust according to conditions and what you are trying to achieve.
I personally use Canon; always have, and I suspect I always will. It’s what I started with and have learnt with. And I love it! I am currently using a D6 (Mark II) and a D7 (Mark II), with a 100 mm macro lens. This lens is just magic and the best investment I ever made. I use it for flowers, creepy-crawlies, small mammals (like mice and shrews), amphibians and small reptiles.
Another important note on gear:
In a relatively short space of time (probably a few years), the new and exciting mirrorless technology will replace cameras as we know them today – they have already done so amongst most of the pros. I hope to be amongst those who have switched to mirrorless soon too. It is the next major wave which has revolutionised photography, and the benefits are significant.


LIGHT:
Many experts on Google will tell you that natural light is better. It is, of course, if it’s available, but I use a flash for basically all macro photography – even in full sunlight. I use a Speedlight which fits on top of the camera.
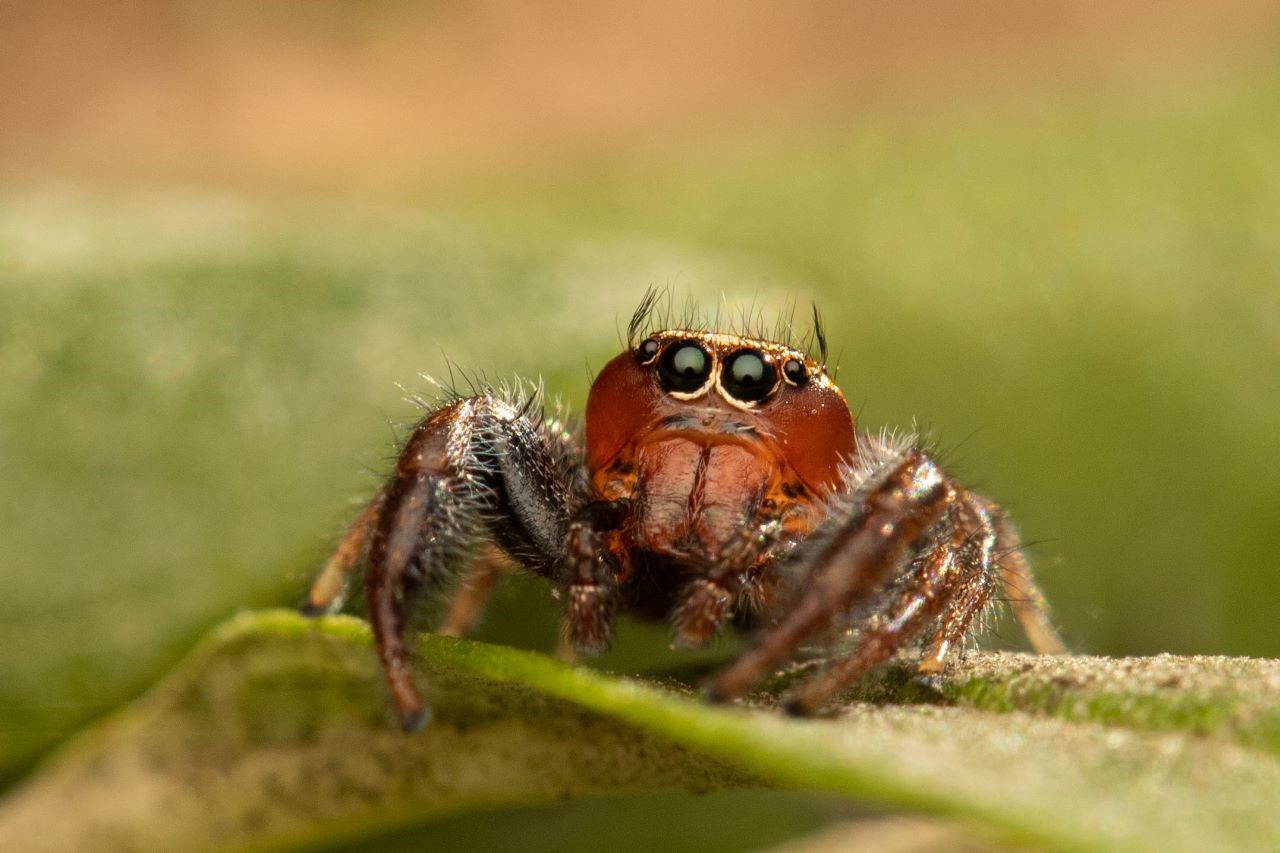
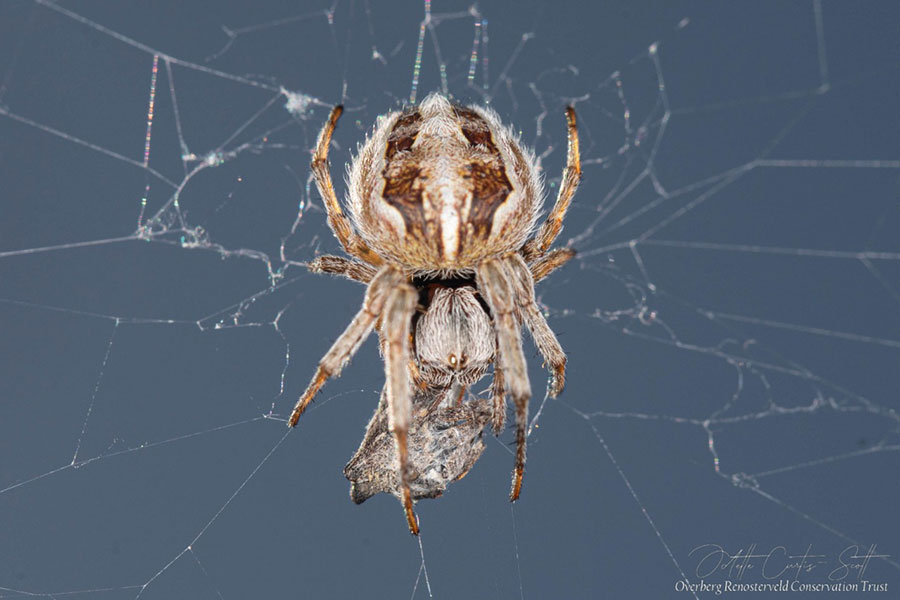
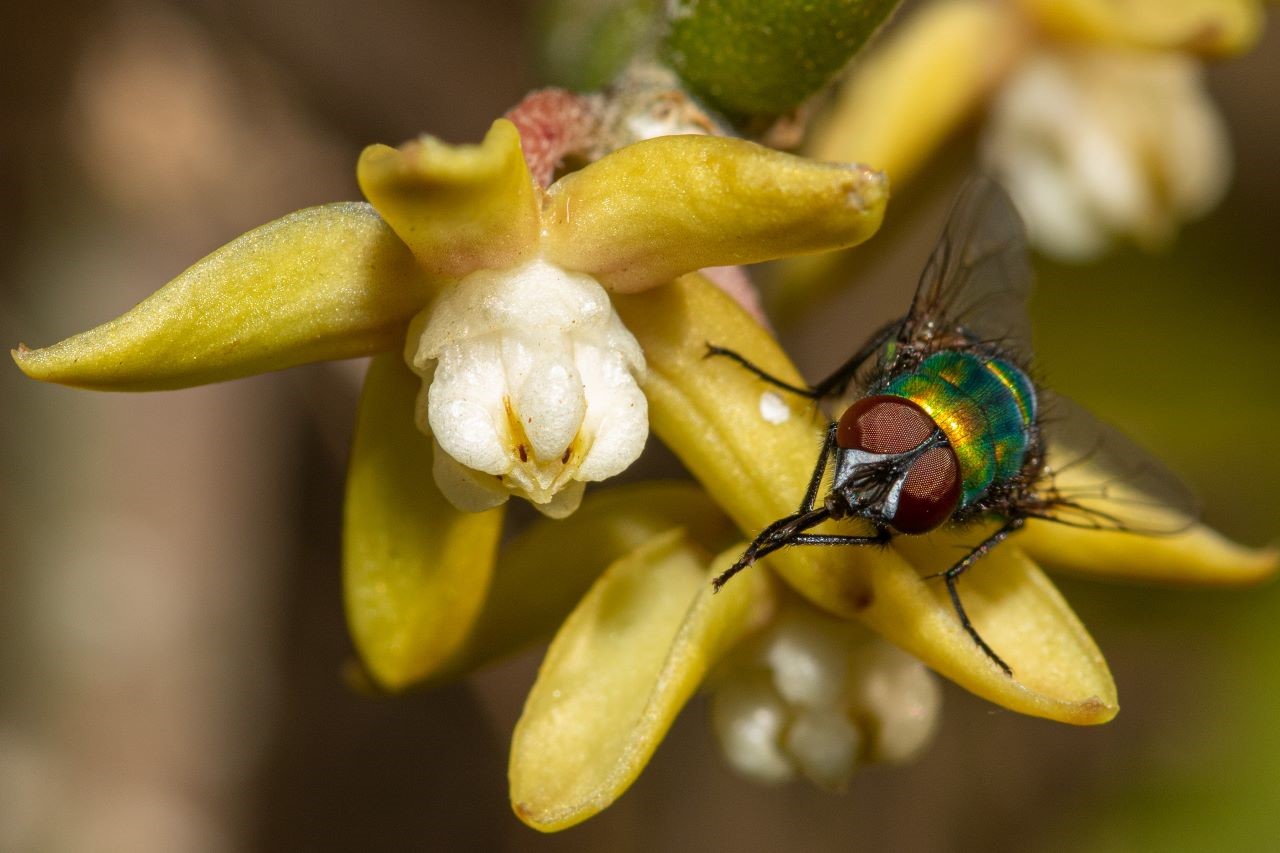
Most important, however, is a diffuser, specifically adapted to macro photography to reduce glare on the image. Anyone who has struggled with an otherwise perfect photo being ruined by the reflective glare in the eyes of a spider – or the back of a shiny beetle, or a slimy frog – can tell you how frustrating it is not to be able to soften the light from a flash, so experimenting with this is key.
Many local photographers ‘build’ their own diffusers and there are several Facebook and YouTube videos where people demonstrate how they make theirs using polystyrene plates and elastic bands, etc. However, none of these work very well in the field if the wind is blowing, but they nevertheless produce incredible results in an indoor set-up.
I recently invested in the most incredible diffuser, which I had to import from Cygnutech in Australia. (You can find the brand on Instagram.) As bizarre as it may sound, none of the camera name brands make diffusers which are specifically produced for macro photography. Brendan James, an expert macro photographer, has answered the prayers of spider and bug photographers and developed beautiful custom diffusers, made on request.
I have also made the mistake of investing in a macro ring-flash – don’t do it! They are super for flowers and anything non-slimy, but for many reflective eyes and shiny skins or exoskeletons, they create awful glare – and there are no diffusers that can counteract this.
SETTINGS:
These days, after developing a better understanding of the various configurations that need to be adjusted, I shoot only on manual.
Firstly, let’s deal with speed: We generally keep this fixed on 1/250 for macro photography, but under stable conditions, you can drop it slightly to allow more light in, if needed. For a moving subject, it is necessary to increase your speed, but remember that increasing speed reduces light.
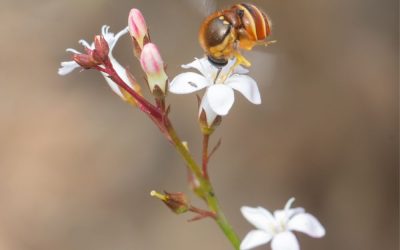
Of course, one wants to maximise the proportion of the bug or flower that is in focus, and a macro lens naturally blurs the background, or even most of the subject – the latter if you use a low f-stop (aperture). Thus, in order to get more of the subject in focus, try to use the highest f-stop that your lighting conditions will allow. So, in full sun, with a flash, you can probably push your f-stop up to F16 and over. This will maximise your depth of field (i.e. how much of your subject is in focus) – which you want if you are taking a photo to get, for example, an identification or provide a photo for an ID guide. If you want an ‘artier’ shot, or have less light available, you can reduce your f-stop to the lower numbers (e.g. F5.6), where the focal area will be sharp, but the surrounds blurred.
ISO also influences how much light is allowed in, and it’s always best to keep this as low as possible, as increasing it too much leads to a grainy shot. However, the newer cameras allow for crazy ISO settings in the thousands with minimal graininess, so how far you can push your ISO depends on what equipment you are using.
When it comes to focus, auto-focus is fine for large things that take up the whole frame, or things that are not sitting completely still or blowing in the wind.
However, if you are photographing minute creatures (like spiders that are just a few millimetres in size), you need to switch to manual focus. This allows you to get a lot closer to your subject – which makes them bigger! This is a super useful fact of which I was unaware, until my lovely spider friends taught me better. The key here is to turn the lens to maximum focal length and then slowly move in and out, holding the camera as still as you can. (Rest your elbows on a surface, if it’s possible.) Hold the focal button down until you hear the ‘bleep’ confirming it has focused, and gently squeeze the ‘trigger’. Again, not all cameras allow for this, but I think most SLRs should.
SHOOTING FORMAT & POST-PROCESSING:
If you want to retain quality macro images, you need to shoot in RAW – particularly for the tiny stuff. Macro images often require some post-processing (even if just cropping) and processing RAW images ensures that the quality is never compromised. On the other hand, with JPEG, you reduce the quality each time you ‘edit’ the image. Shooting in RAW does mean that you will need to invest in processing software (e.g. Lightroom) and significant storage space in order to manage your images – but it’s worth it!
[/cmsms_text][cmsms_featured_block fb_bg_color=”#bc8434″ fb_text_color=”#ffffff” animation_delay=”0″]
Summary of settings for macro photography
Shoot on manual!
Speed: Higher speed captures moving subjects, lower speed blurs subjects. For macro photography, we generally shoot on at least 1/250.
Aperture (f-stop): The higher the aperture, the greater your depth of field, but this compromises lighting. Reducing the aperture increases the amount of light allowed in, but decreases the depth of field (i.e. the proportion of the subject/photo that is sharply focused. So, aim to set the aperture (f-stop) as high as your available light allows.
ISO: In full sunlight, keep at 100. In a shadow, you can go up to allow more light in (say 400) so that you don’t have to compromise too much on aperture. You can go a lot higher in darker conditions, but watch out for graininess.
Focus: Always try manual focus first – particularly if both you and your subject are not moving. But change to auto-focus if either of you are moving or not steady.
If possible, shoot in RAW – but remember that you’ll need more storage space for larger file sizes, compared to JPEG.
[/cmsms_featured_block][cmsms_text animation_delay=”0″]
COMPOSITION:
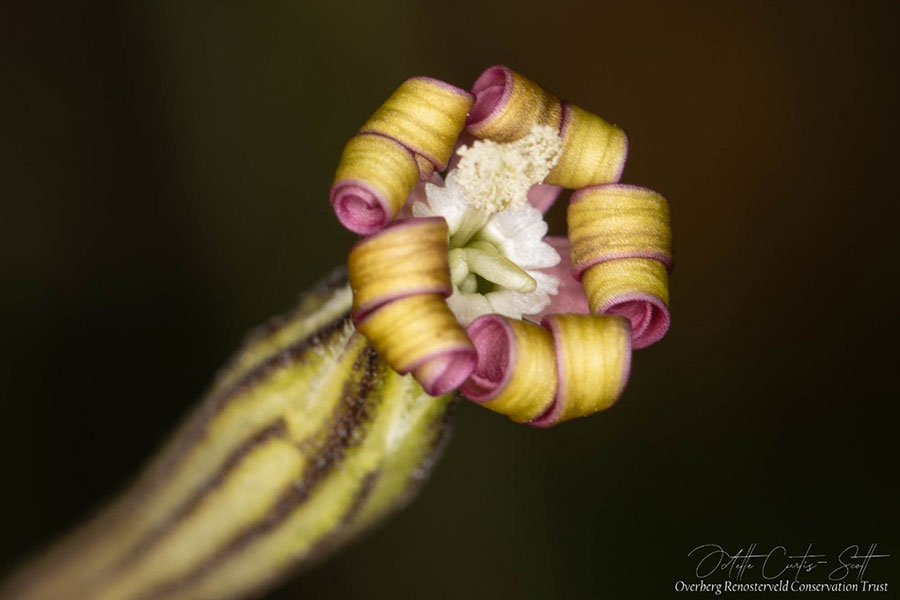
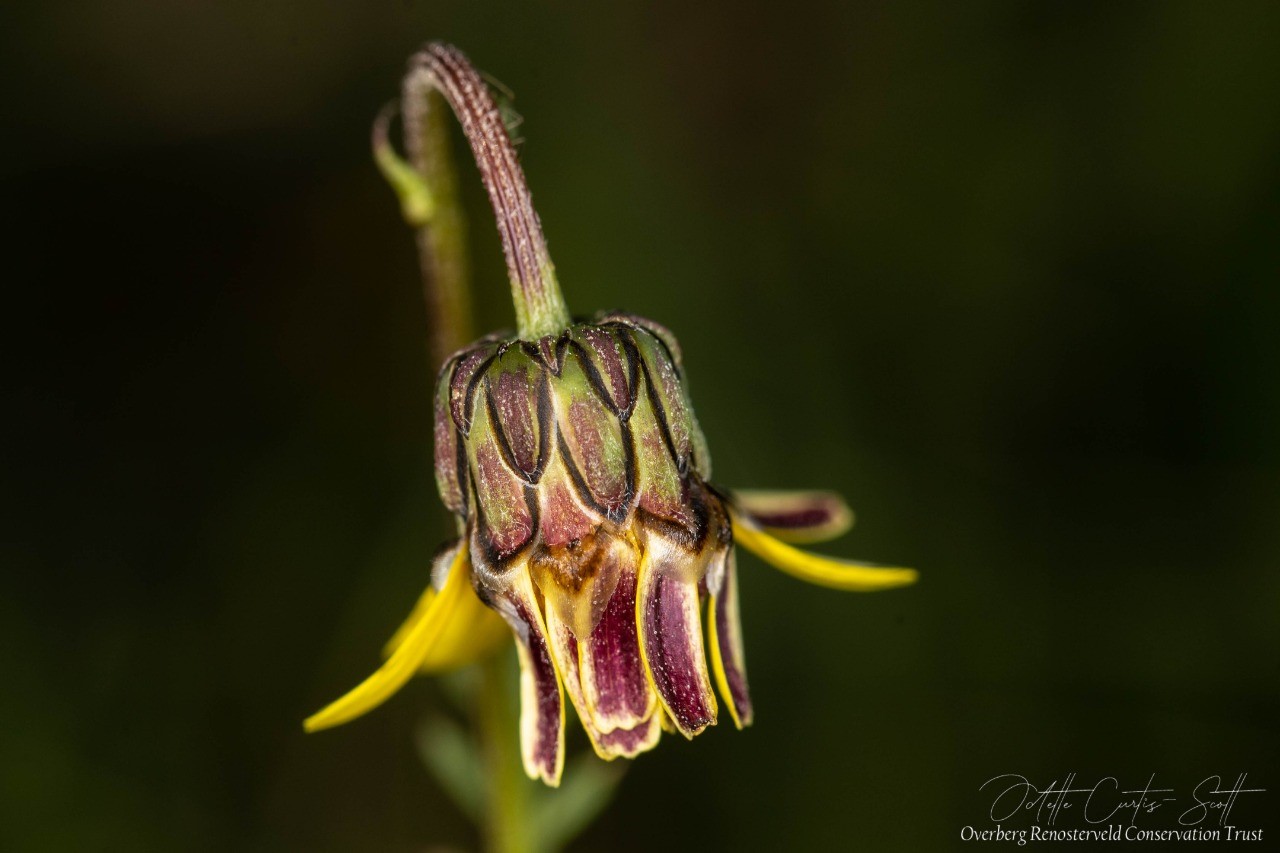
As with the settings, the composition of your photo depends on the story you want it to tell. Often, with minute creatures, we are just trying to show the incredible details that are otherwise unseen to the naked eye. For larger creatures and flowers, one might want to show them in relation to their habitat. Remember that placing your flower or creature off-centre, or completely to one side of the shot, can create a far more artistic photograph.
BREATHING:
In order to reduce camera shake, as all the experts will remind you, try to relax and take a breath inwards as you prepare your shot and slowly exhale and squeeze the shutter down.
There is so much more one could discuss on the subject, but at the risk of delving into fields I am still hesitantly exploring myself, I will leave things here for now. At the moment, I am enjoying discovering more about things like Raynox conversion lenses and focus stacking.
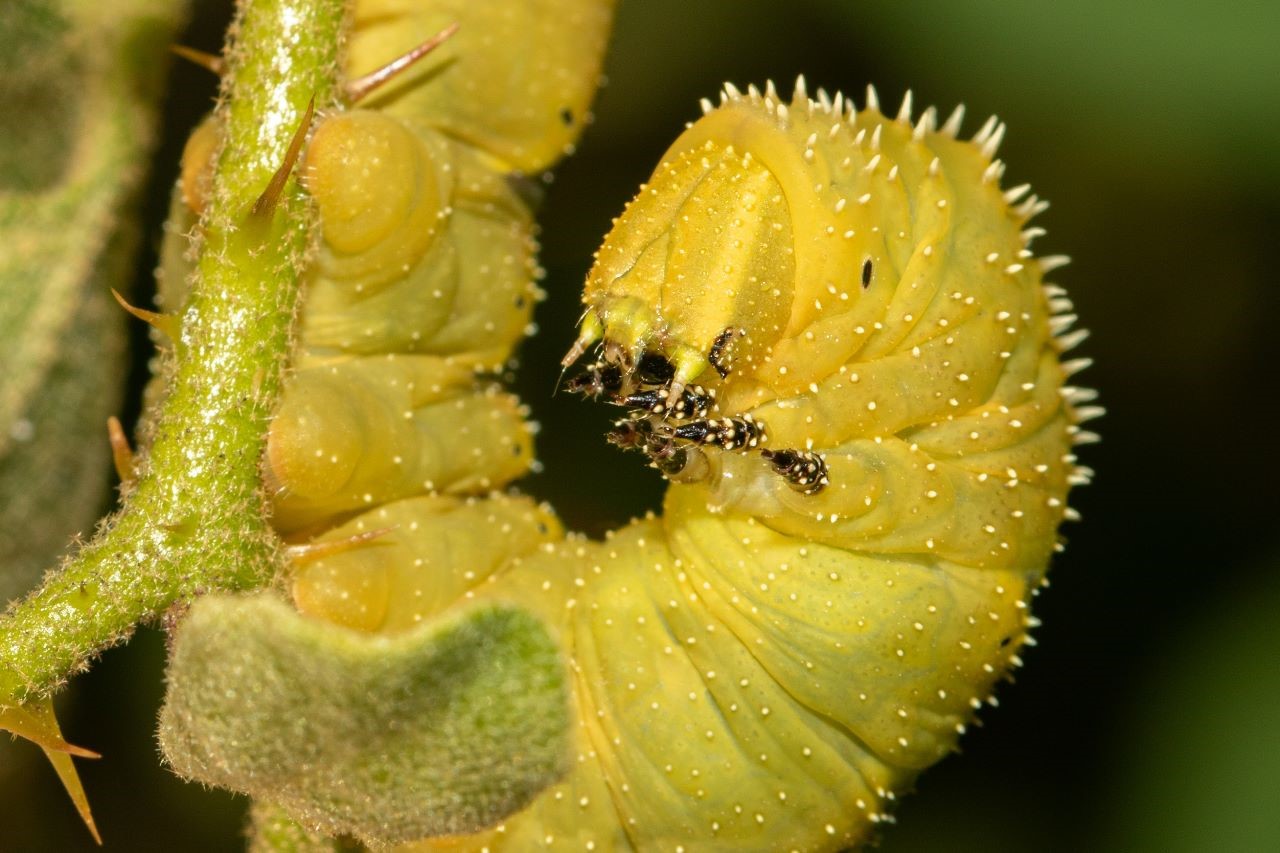
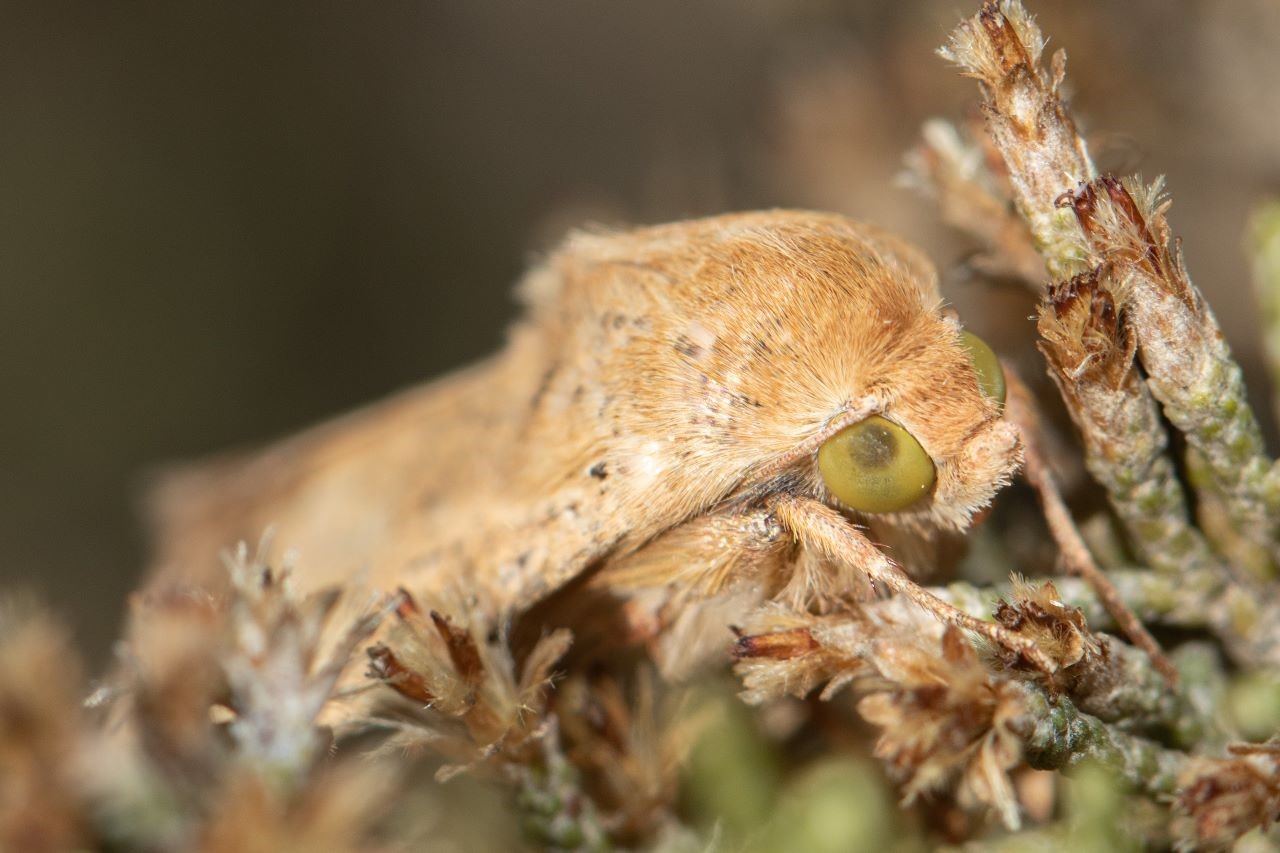
Macro photography is an intriguing, addictive – and, yes, increasingly expensive – hobby, but one with great rewards. It opens one’s eyes to a whole new world to which we are otherwise largely blind – all literally right in front of our noses. Pick up your camera and go exploring – you won’t ever look back!

Latest Renosterveld News
Less than 5% of renosterveld remains today. Much of what survives exists on privately owned farmland.

From one to 23: A protected renosterveld network emerges
Protected fragments of renosterveld across the Overberg are starting to form something far more meaningful than isolated patches.
Size matters: A new large-scale renosterveld landscape protected
The newly signed conservation easement, Oudekraalskop, brings Endangered Eastern Rûens Shale Renosterveld and Rûens Silcrete Renosterveld under protection in